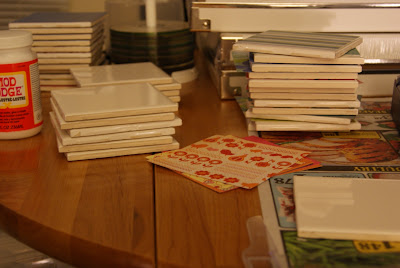
Awhile ago I came across this cute and simple gift idea. Handmade coasters! I decided it was such a good idea I would make them for christmas gifts! They turned out super cute and everyone loved them!
At the hardware store: First buy 4 x 4 white tiles at Lowes or Home Depot, the cheapest kind available will work fine. I purchased mine for 16 cents each! Also you can buy felt feet here like those you would put on furniture, only smaller. You will stick these onto the bottom of the tiles so it doesn't scratch your table tops. The last thing you will need there is a clear spraypaint sealant.
At the craft store: purchase modge podge, scrapbook paper in whatever print you would like ( I choose paper/colors that reminded me of the person), a foam paint brush, a paper cutter if you don't have one, and ribbon or rafia to tie around the tiles.
At home: gather a pencil, ruler and newspaper.
1. Measure the exact size of the tile, then measure it out on the backside of your scrapbook paper. Cut the scrapbook paper to the exact size of the tile. Line up the paper on the tile to make sure if fits precisely. Repeat this as many times as necessary.
2. Lay out newspaper to protect your workspace. Apply modge podge with the foam paint brush onto the tile, then carefully lay down the paper making sure there are no wrinkles, then apply another layer of modge podge ontop of the paper. Set aside to dry. Continue doing this to all of the tiles. Do not set them on top of each other while they are drying as they will stick and pull off some of the paper, I learned this the hard way.
3. Go outside and lay all the tiles out on newspaper. Follow the directions on the spray paint and apply a few clear coats to seal the paper. Let dry.
4. When the tiles are dry you can stick on the felt feet, one in each corner. Then I stacked together the four tiles that went with one another and tied them together with rafia.
See I told you it was simple! The best part is this is an inexpensive and thoughtful gift.


No comments:
Post a Comment