 Update: I just came across this amazing tutorial on making a reversible banner so you can use it for two holidays! Score! The next banner I make will definitely be done this way since it is so practical.
Burlap is cheap, only if you buy it by the yard and not in pre-cut pieces. The craft stores are smart and have seen the burlap trend catch on so they sell smaller pieces ready to go with a hefty upcharge. When I went to Joann’s the burlap I choose was under $4 a yard and I had a 40% off coupon I used. I purchased 2 years with an intent to use it for some other projects.
What you need:
1 yard of burlap
a small paintbrush
acrylic paint
twine, rope, ribbon, cord, etc.
Letter stencils of a size that works with the size of flag you are making
scissors
a piece of paper, pen and ruler ( or a computer and printer)
paper bags or something to cover your work surface
First, draw or make on the computer a flag shape on an 8 1/2 x 11” sheet of paper to create a template. You can do whatever size you like but this is what I did mine on. My printer is not currently working so I just measured the mid point of the 8 1/2” size and used a ruler to draw up to the opposing corners and cut, pretty easy. Use this template piece to cut out your flags on the burlap. I am a perfectionist by nature but I have learned to let it go on a lot of things. This is one, the flags will not all be perfect in size and have straight cuts. Its really note a big deal to have these little flaws especially on burlap.
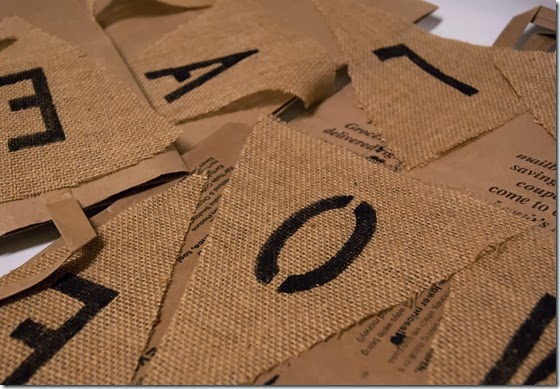
Next, cover your work surface with paper bags or something so you don’t get paint all over. Decide on the location you want your letters to go and keep this consistent across every flag. I used a magazine (couldn’t find a ruler during this step) to create a line from the bottom of the letter to the next flag to determine placement. Holding your stencil over the burlap, apply the paint in a tapping or stippling motion, being careful to hold the edges tight. I was a little worried while I was doing this as I couldn’t see the clear stencils very well and I didn’t tape the stencils down so edges would lift up. Mine still turned out pretty perfect (shocking for me!). Now lay them out to dry. Feel free to play with the amount of paint you use. Doing lighter and darker spots would create more of a printed or stamped look. Or try doing it light all over to give a more aged look. I would suggest washing each stencil right away so you remove any signs of paint. I waited until I had done four and it was a pain to remove it, at least on the type of stencils I had. I would also suggest purchasing stencils that are any color other than clear. The clear against the burlap was very hard to see when you were trying to apply the paint.

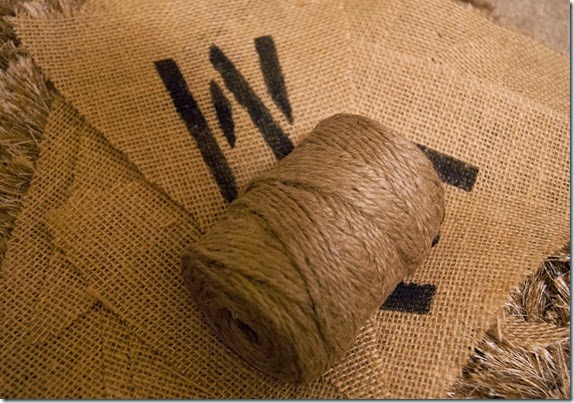
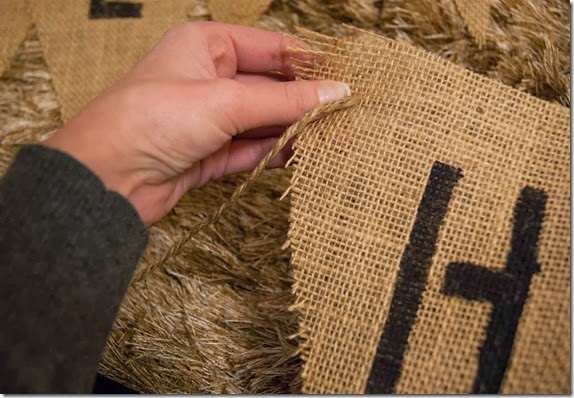
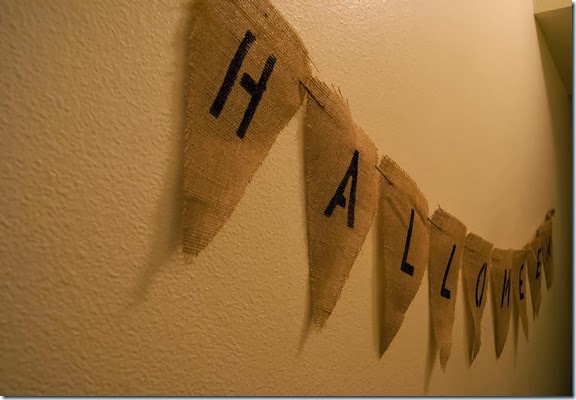
Once the paint is dry you can gather up your flags and whatever material you are using to string the sign. I used a twine I found in the beads section at Michaels, that they referred to as cord. I didn’t have a big enough needle to thread the twine through so I just poked the needle through the burlap to create a wider hole to put the twine through. As you are doing this, make sure you are consistent in the placement of the holes on each flag.Thread the entire flag. My twine began unwinding so I dipped it in a bit of melted wax from a candle to make my own needle out of it and it worked so much better. When you are done, find a fabulous place to hang your new sign!

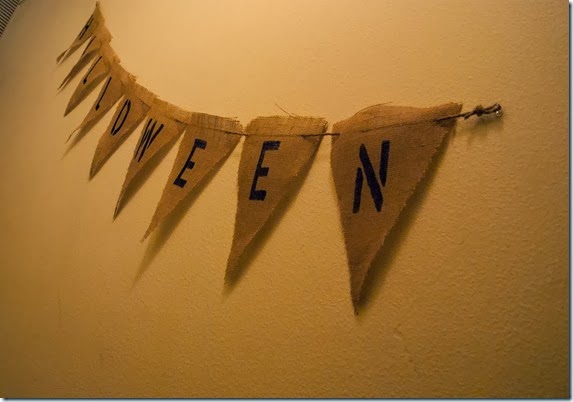
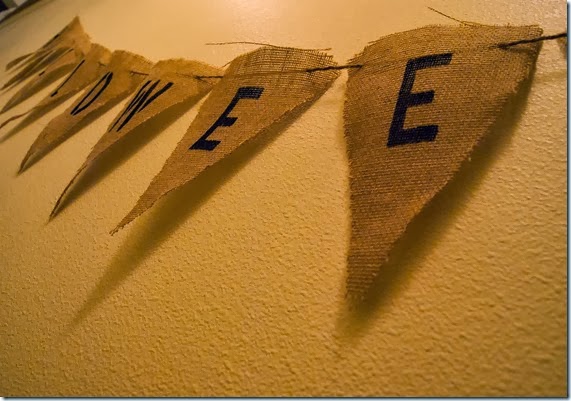
Think of all the things you can make these signs for:
- baby announcement/showers/births
- nurseries and Children's rooms
- everyday home décor
- other holidays
- weddings, showers and bachelorette parties
- parties or events
- lemonade stands
- Your child's play areas (theater, grocery store, restaurant, whatever else)
What have you been making with burlap lately? I would love to hear some other ideas!


